How your Kilt is made
Have you ever wondered just how your kilt comes together?
The first stage to creating your kilt, involves measuring you up correctly. The first set of measurements are taken from the hipbone. A waist measurement is taken from just above the hipbone area and then a measurement is taken from there down to the widest part of the hip. The most important measurement is the length, as this measurement cannot be altered. It is done when you are kneeling on the ground and the measurement is taken from the waist, over the hip to the floor.
Our kilt maker will examine your chosen tartan, checking whether it is symmetrical or non-symmetrical, if it is matching or non-matching and double checking for any faults in the cloth itself. Our kilt maker will then mark up the cloth with chalk, allowing them to see where there stitches will be made.
The pleats form the main characteristic of the kilt so it is very important to get these right. In order to do so, it involves some clever calculations and positioning. The methods used to arrange the pleats will depend on whether there's a matching or non-matching tartan. Each method will ensure that your kilt conforms to as much of the original design as possible, after the pleats have been sewn.
There are many names that are used to describe the style of each pleat and many methods used to describe the overall arrangement. The minimum number of pleats is determined by the sett size, this is the repeat size of the design.
For gents full size kilts, each kilt should have a minimum of 8 imperial yards or the equivalent in meters, either 4 yards double width or 8 yards single width. This is to allow for an adequate amount of pleats to an average size.
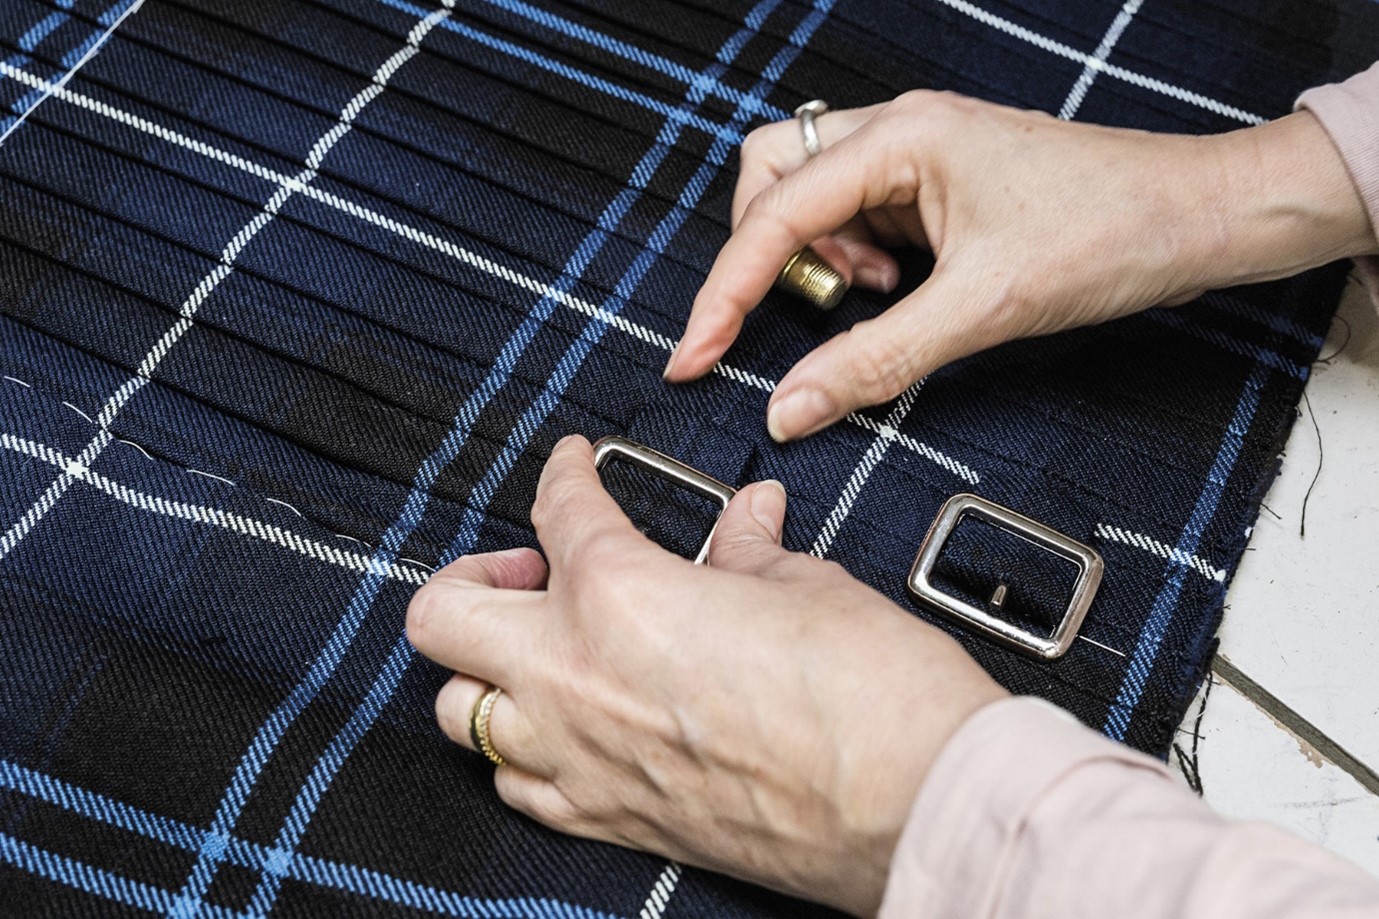
Extra fabric is used to create the loops required for the buckles and if required a belt. The belt loops are to be wide enough to accommodate a kilt belt and buckle. They will be stitched by hand and finished on the pleated area, matching both twill direction and the tartan design.
All buckles are to match the straps, the under buckle is to be securely sewn one pleat back from the vent area. The top buckle is to be positioned on the pleats at the correct waist measurement.
The lower buckle on the right side should be positioned centrally. All chapes are to be strengthened by the use of canvas and felled into position. No raw edges will be seen and if your kilt is perfectly balanced you should see that both buckles match up to the same design feature as the sett of the kilt.
Two or three leather straps can be attached to the kilt. One to the under apron and the other/s are stitched to the front apron. These straps match the buckles, and are fastened to the free edge of the aprons or as measurements direct. Each strap will have at least five holes so that you can adjust the size of the waist/hip when required.
Your Kilt is now ready to be worn.
For more information on how we handmake your kilt contact customerservices@lcmsgroup.com

